I recently started to dive into game development and after checking out a few engines I landed on Unity. I wanted to go over a few setup steps I did to get VS Code working properly along with formatting and intellisense. This is going to assume you already have Unity installed and because it is pretty straight forward I did not see much point in going through those steps.
Prerequisites
Unity's coding language of choice is C# and in order to use C# you need to download a few things to get the most out of VS Code and make your life easier.
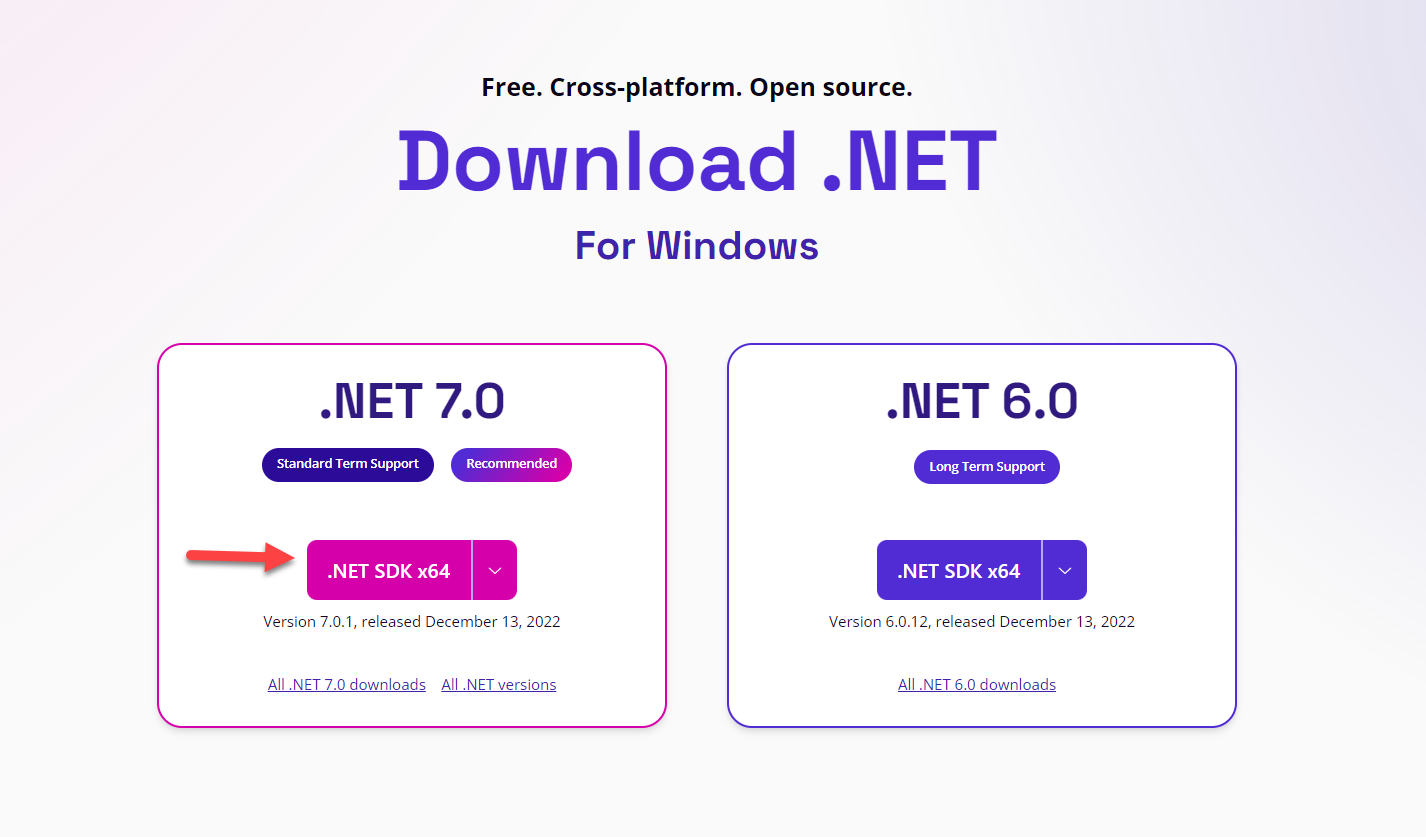
First head on over to the .NET website and download the latest SDK. Install it and follow the prompts.
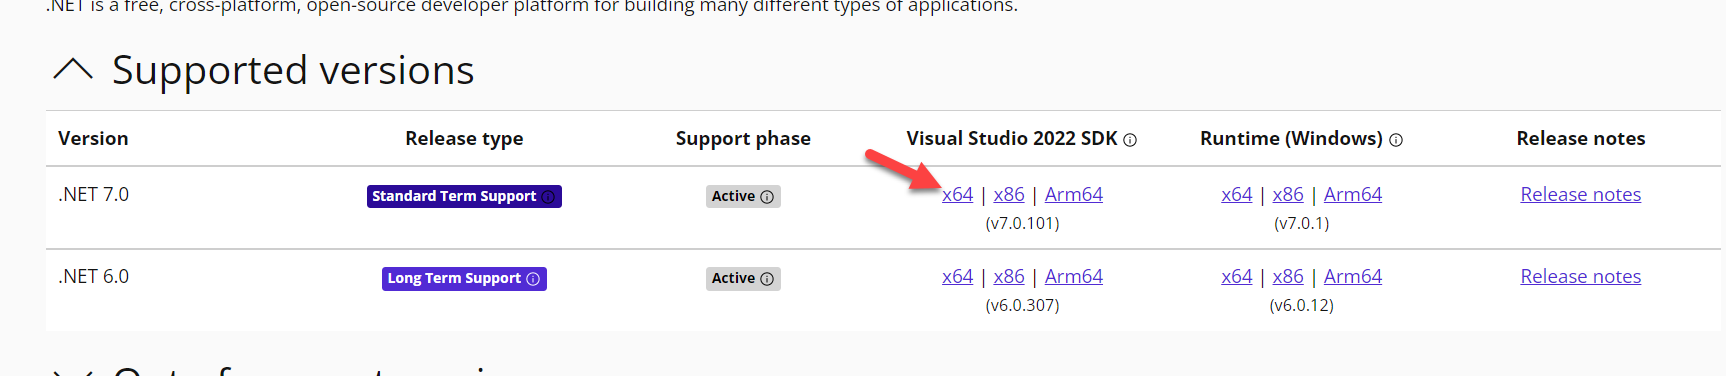
Then you will want to go to https://aka.ms/msbuild/developerpacks and install the Visual Studio SDK developer pack.
Configuring Unity
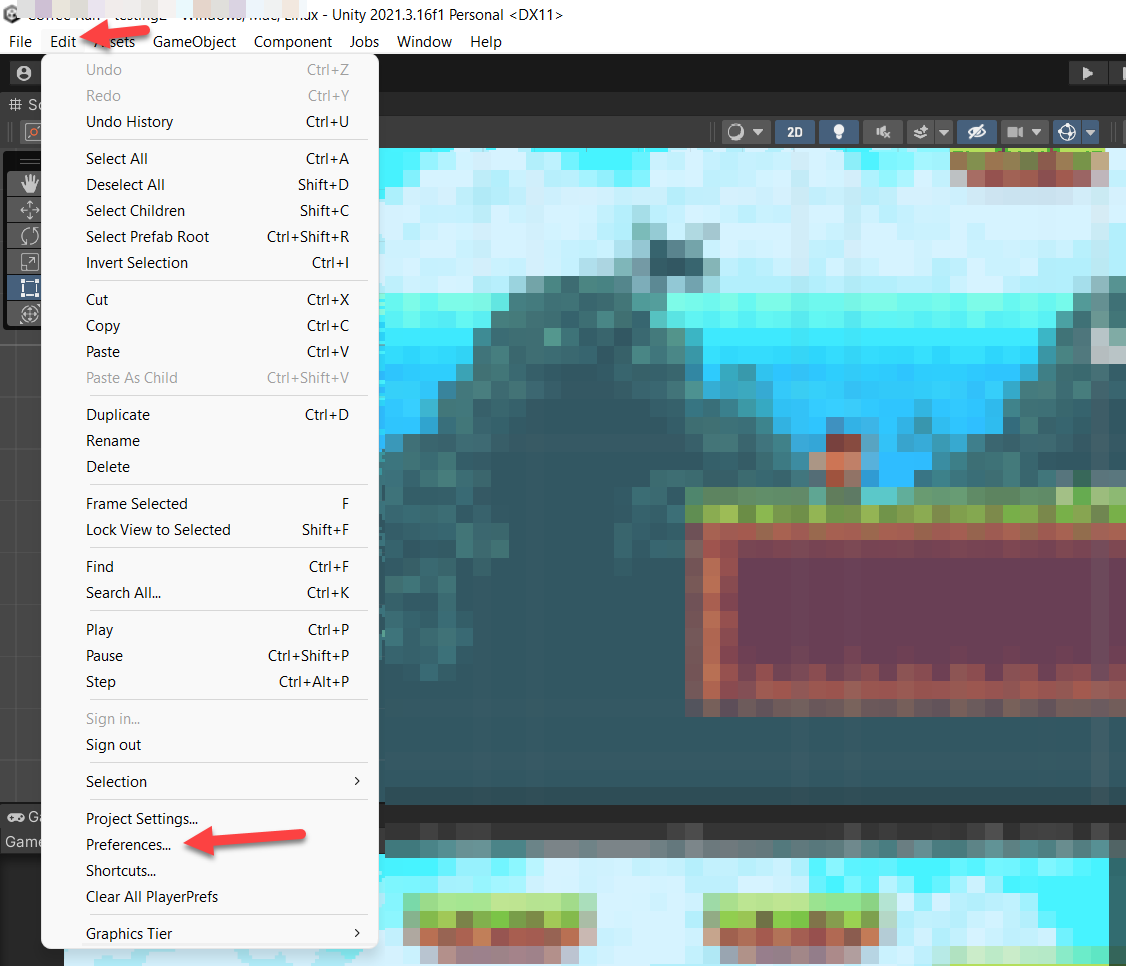
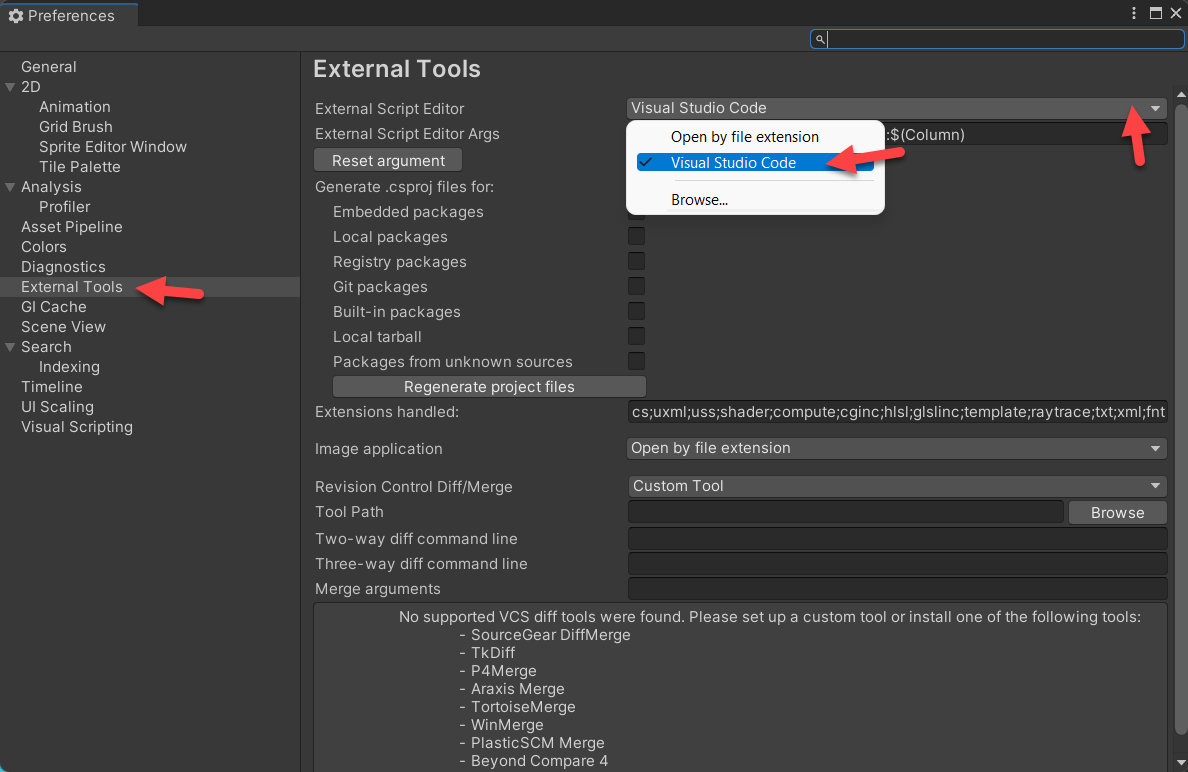
Once that is done, open up Unity, and click Edit and then Preferences.
Then select External Tools, then click the dropdown menu and click
Visual Studio Code.
Configuring VS Code
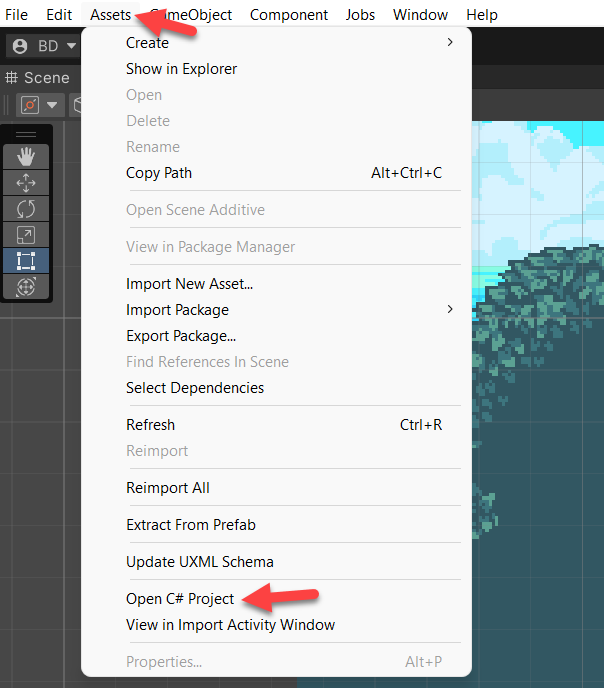
Open your Unity project in VS Code by clicking Assets and then Open your C# Project.
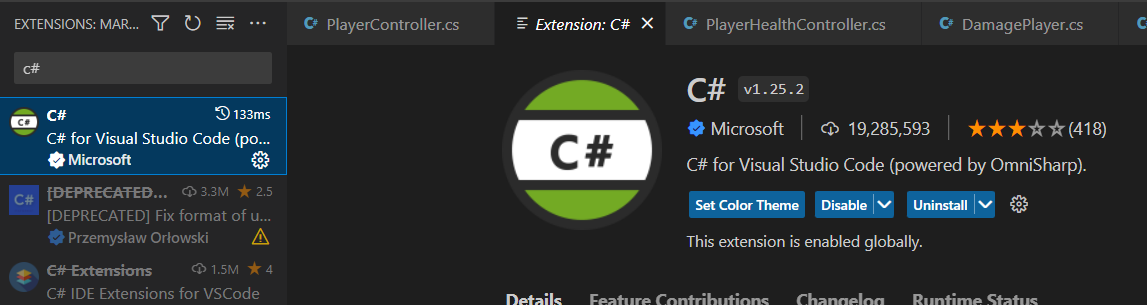
Now we need to install the C# extension. You do this by going clicking the Extensions
icon and searching for C#. Install the extension and restart VS Code.
Now, open your terminal and input:
dotnet tool install -g dotnet-format --version "7.*" --add-source https://pkgs.dev.azure.com/dnceng/public/_packaging/dotnet7/nuget/v3/index.json
Next, go to your .vscode folder and open settings.json and add the following:
{
  "omnisharp.enableRoslynAnalyzers": true,
  "omnisharp.enableEditorConfigSupport": true
}
To make sure the formatter is configured, open any C# file and press SHIFT +
ALT + F. If the formatter is not configured it will prompt you to select the
formatter. From that point forward your files will auto format on Save. This will
keep your code cleaner and easier to read.
You will also notice now that you have Intellisense which will make working in your project much easier.